
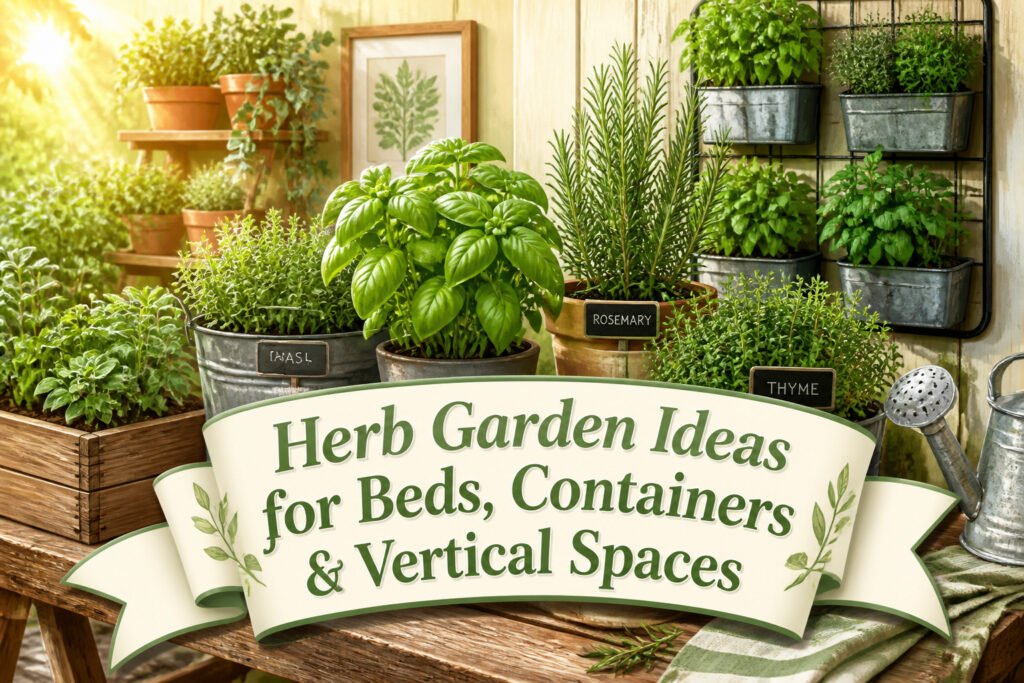
The best herb garden is the one you will actually use, and that usually means placing it closer to your kitchen than your yard plan prefers. Most herbs die from drainage, not neglect; raised beds, containers, and wall-mounted shelves all solve this by letting water run off rather than pool around roots. A 12-inch depth is the minimum for perennials to establish instead of forcing annual replanting, whether the bed sits on soil, a patio, or a balcony rail.
1. Raised Bed Herb Garden

A raised bed solves the drainage problem that kills most herbs in the ground. Mediterranean herbs in particular rot where water sits, and elevating the soil lets excess run off instead of pooling around roots. That same elevation keeps the garden organized in a medium to large backyard; you can group thyme and rosemary together in one bed, basil and parsley in another, each getting the water they actually need.
Build the box to at least 12 inches deep for optimal root growth. Anything shallower and you are forcing perennial herbs into bonsai conditions, replanting every spring instead of letting them establish. Fill it with a mix heavy on compost and grit; the compost feeds, the grit drains. Sand works too, though coarse builder’s grit holds structure longer in my experience. The herbs do not want rich, wet soil. They want lean, fast-draining ground that warms early and dries between rains.
2. Container Herb Garden

A group of pots on the patio or deck gives full control over soil, drainage, and sunlight without demanding yard space. Containers keep enthusiastic spreaders like mint in check, and you can move them to chase the best light through the season.
Drainage holes are non-negotiable; waterlogged roots rot fast in a sealed pot. If a favorite container lacks them, a masonry bit solves that before planting.
Leafy herbs such as basil, parsley, and cilantro want richer soil with steady moisture, while Mediterranean types like rosemary and thyme prefer leaner, drier conditions. Separate pots keep both groups happy. Plan for 8–12 inches of spacing between herbs so air circulates and each plant reaches its size. A four-foot-wide planter or a cluster of individual pots both work; the only wrong choice is cramming them shoulder to shoulder and watching the center stall out.
3. Vertical Herb Garden
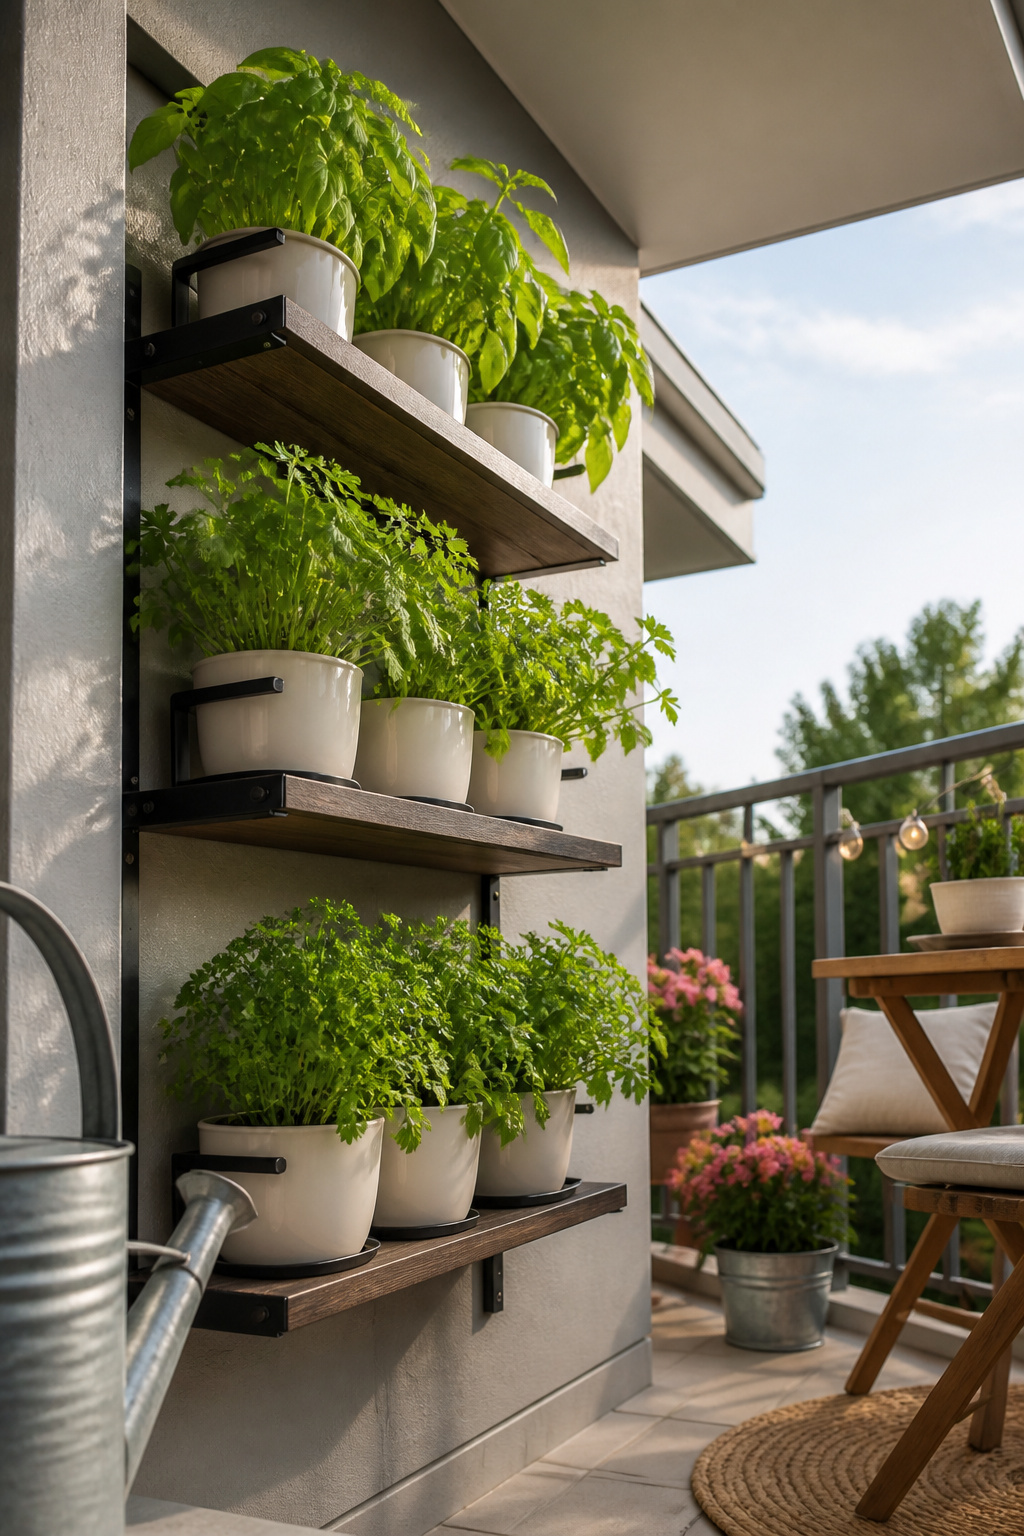
A vertical herb garden turns the one surface you do have, bare wall, into growing space. On my balcony last spring, a set of simple wall-mounted shelves bought back about six square feet of floor I had given up for pots. Shallow-rooted herbs like basil, cilantro, and parsley do best in these setups, since deep soil just adds weight and most wall brackets or pocket systems are not built for it.
You can buy a vertical planter kit or build from planks and metal brackets, but treat any wood if you make your own or it will rot out faster than the herbs grow. A dedicated plant shelf works, though honestly any shelving that drains and holds light pots will get the job done. The look reads design-forward once the plants fill in, which matters when your garden is also your outdoor room.
4. Hanging Herb Planters
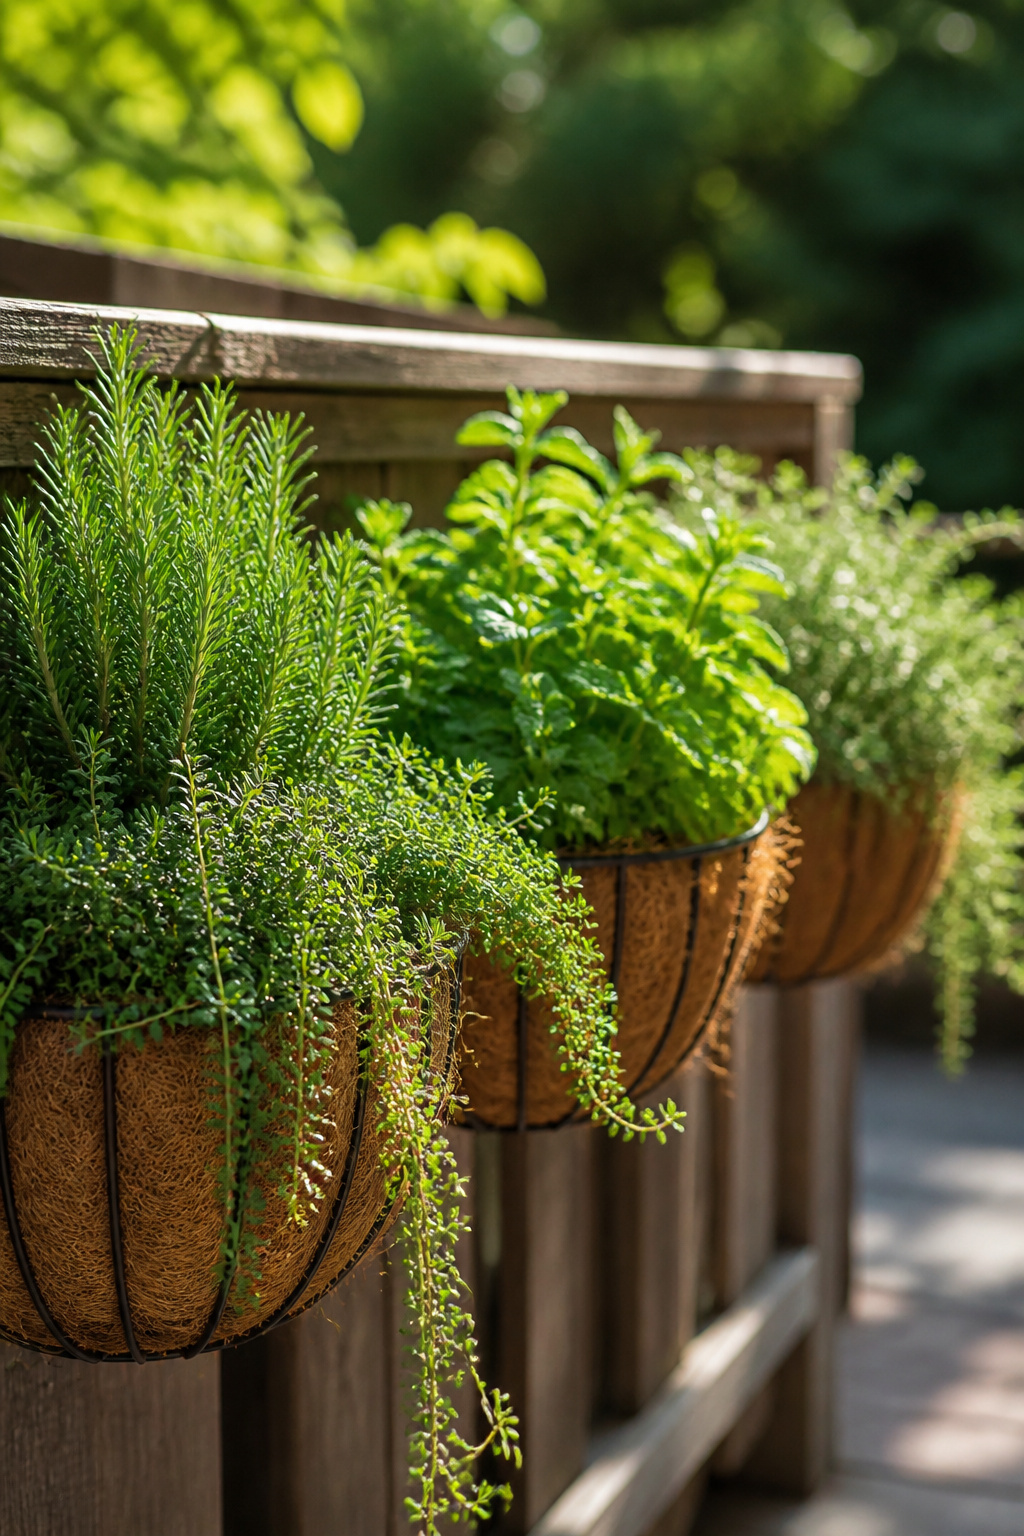
A row of herbs dangling at eye level turns a blank wall or railing into something you actually want to look at, and the snipping happens without bending or stepping outside. Thyme, mint, and oregano spill over the edges and keep growing downward, so the planter looks fuller week by week. Coconut coir lining handles drainage better than bare soil pressed against a basket.
Floor space barely matters with this setup. A pole fixed rail-style across a balcony, or a few screw-in hooks under kitchen cabinets, gives you somewhere to suspend either standard hanging baskets or pots you already own rigged with rope. I split culinary herbs into one planter and aromatic ones into another after finding that basil and rosemary want water on completely different schedules. The separation saved me from drowning one while the other dried out.
Kitchen placement works if the corner gets sun. A sheltered porch works if it does not. The main limit is checking whether your wall or cabinet side can take the loaded weight.
5. Herb Garden Pathway

A narrow path between beds or borders is the easiest place to start if you want scent in the garden without giving up square footage. Lavender, mint, and lemon balm will all release oil when a sleeve brushes past, and rosemary adds the same effect with stiffer, more architectural foliage. The trick is keeping the walkway usable. Herbs soft enough to release fragrance are also soft enough to flatten under a boot, so a path edged with herbs needs either width enough to step around or a low barrier guests will notice before they wander in. I have seen mint recover from light trampling, but rosemary stems stay bent and lavender snaps clean through.
Sun and drainage matter more here than in a raised bed because you are working the soil that is already there. Root rot is the usual failure, especially where a path stays damp after rain. If the ground packs hard or puddles, amend before you plant rather than after you have lost half the row. A bed 4 feet across still lets you reach the center without stepping in, and that width scales down to a side yard or patio edge without looking cramped. Letting the herbs flower and stand through winter turns the same path into shelter for ground beetles and other useful insects, so the sensory payoff in summer is not the only reason to plant this way.
6. Kitchen-Adjacent Herb Garden
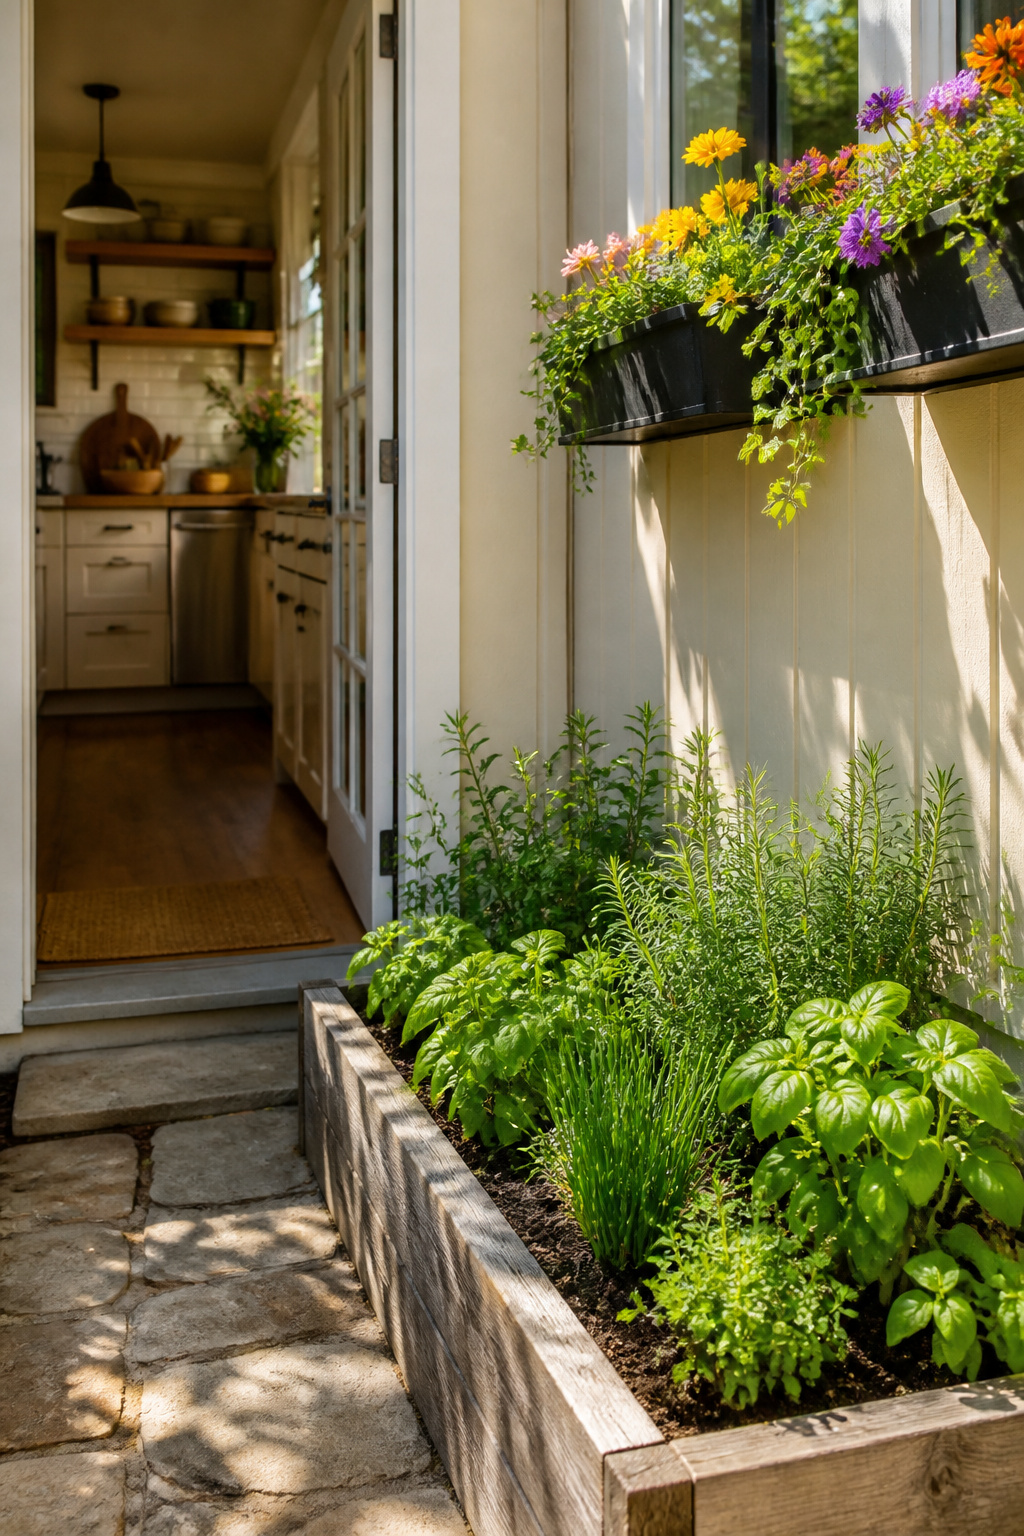
The kitchen door is the natural place for herbs you cut almost daily. A 12-square-foot bed just outside it holds basil, chives, cilantro, dill, marjoram, mint, oregano, parsley, rosemary, sage, tarragon, and thyme close enough that grabbing a handful mid-recipe feels automatic, not like a chore. I have left herbs too far from the stove before, and watched them go woody from neglect because the walk felt like too much effort in the middle of cooking.
If soil is not an option, a sunny windowsill inside does the same work. Small pots of rosemary, thyme, and parsley sit right where the prep happens. Self-watering planters cut the daily check to weekly, which matters when you are someone who has killed a windowsill basil with kindness and also with forgetting. Lower-light cooks can still keep chives and mint going without the south exposure.
Wall-mounted ceramic planters in a bare kitchen corner bring herbs to eye level and free the counter. A layer of small stones at the bottom of each pot handles drainage, which I think is non-negotiable for rosemary in particular. Mason jars on a shelf work too, though they lean more quaint than practical and you will need to watch water more carefully.
7. Cottage-Style Herb Garden
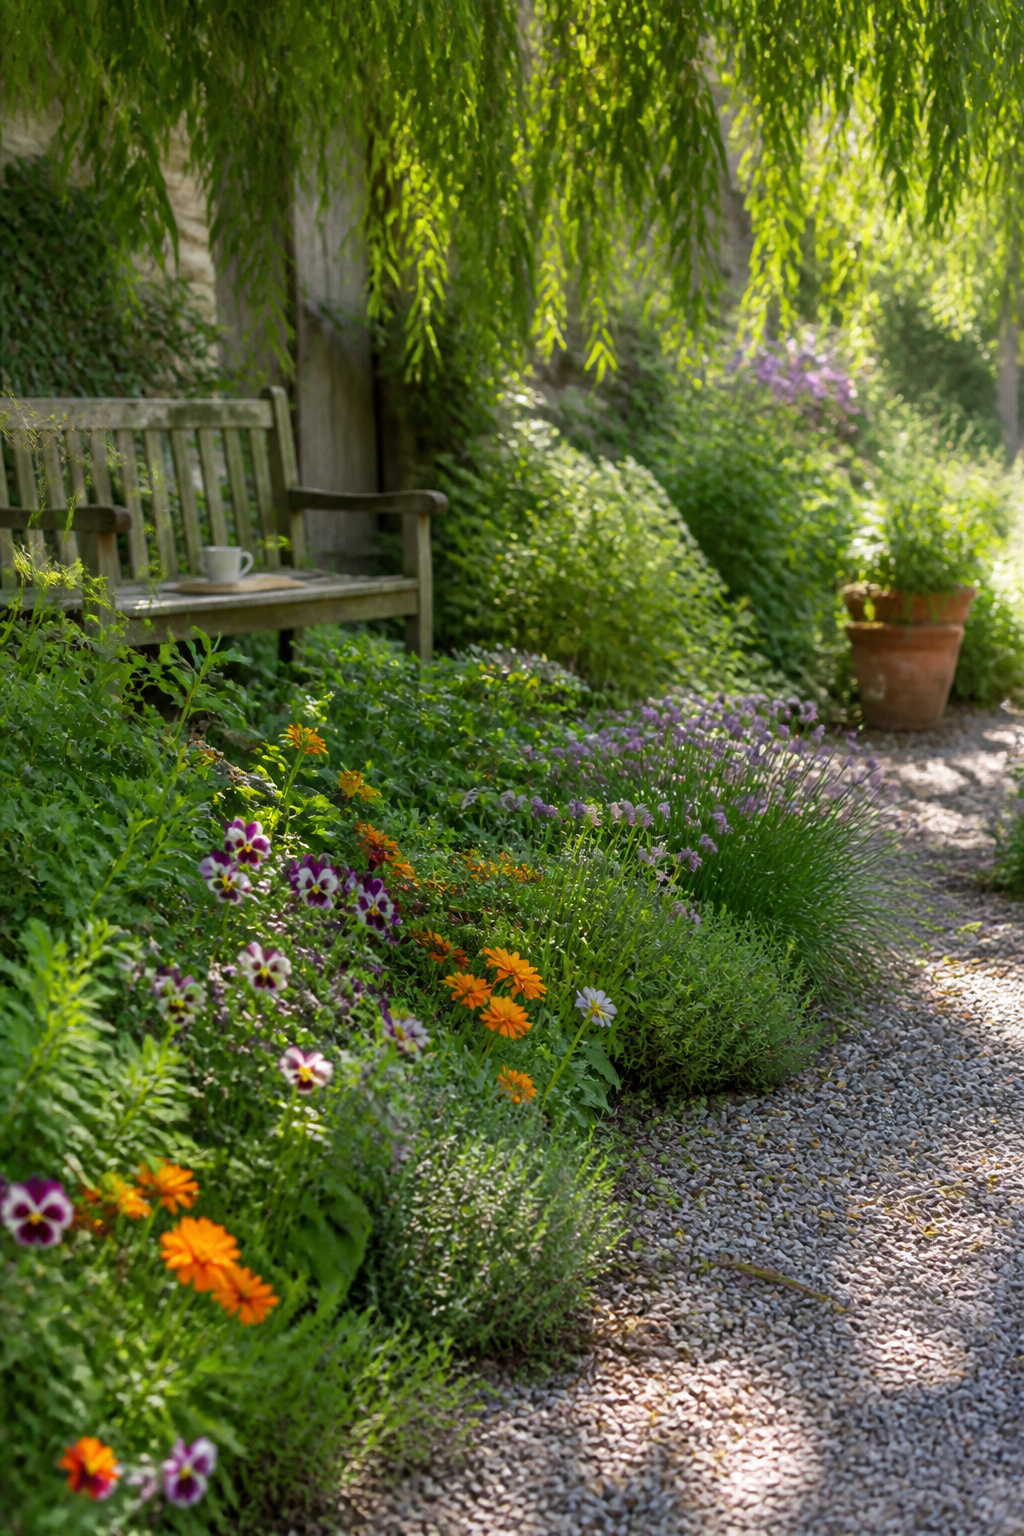
Soft herbs like chives and thyme spill over path edges without looking messy, and that willingness to sprawl is what makes a cottage bed feel lived-in rather than designed. I tuck in pansies, marigolds, and calendula between the herbs, partly for the color and partly because those flowers are edible, so nothing in the bed is off-limits for the kitchen. Nasturtium does the same trick with a peppery leaf that reads as ornamental until you remember to toss it in a salad.
The informal shape comes from letting plants find their own height rather than staking everything upright. Taller sage or rosemary toward the back of a border, lower thymes and creeping savory toward the front, and something billowy like chives or cilantro wherever it lands. No straight lines and no matching pairs; symmetry is the first thing that kills the cottage look. If one side of the path has more calendula than the other, that is exactly right.
Maintenance is lighter than a formal herb grid because the flowers hide the bare spots herbs leave when you cut them hard. I deadhead the blooms when I remember and let the herbs go slightly shaggy between harvests. The bed looks fullest in late spring, but even in August the mix of leaf shape and stray flower color keeps it from looking abandoned.
8. Herb Spiral Garden

A herb spiral turns a small footprint into several growing zones at once. Stones, stumps, or posts are stacked in an ascending curl, filled with soil, and planted so that sun-loving herbs sit at the top while moisture-seeking ones settle at the bottom where runoff collects. Watering from the highest point lets gravity do the distribution work; what drains past the rosemary and thyme ends up feeding the mint and parsley below. The curving wall also casts pockets of shade against its inner face, so a single structure manages sun exposure, drainage, and microclimate without any moving parts. In my reading, the spiral’s real payoff is this stacking of conditions in one spot. A flat bed forces you to group plants by similar needs or accept poor performance. The spiral lets you grow drought-tolerant and thirstier herbs together by assigning them to the height that suits them. It reads as a garden centerpiece too, though I would build it where the visual interest also earns its keep functionally.
9. Indoor Herb Garden
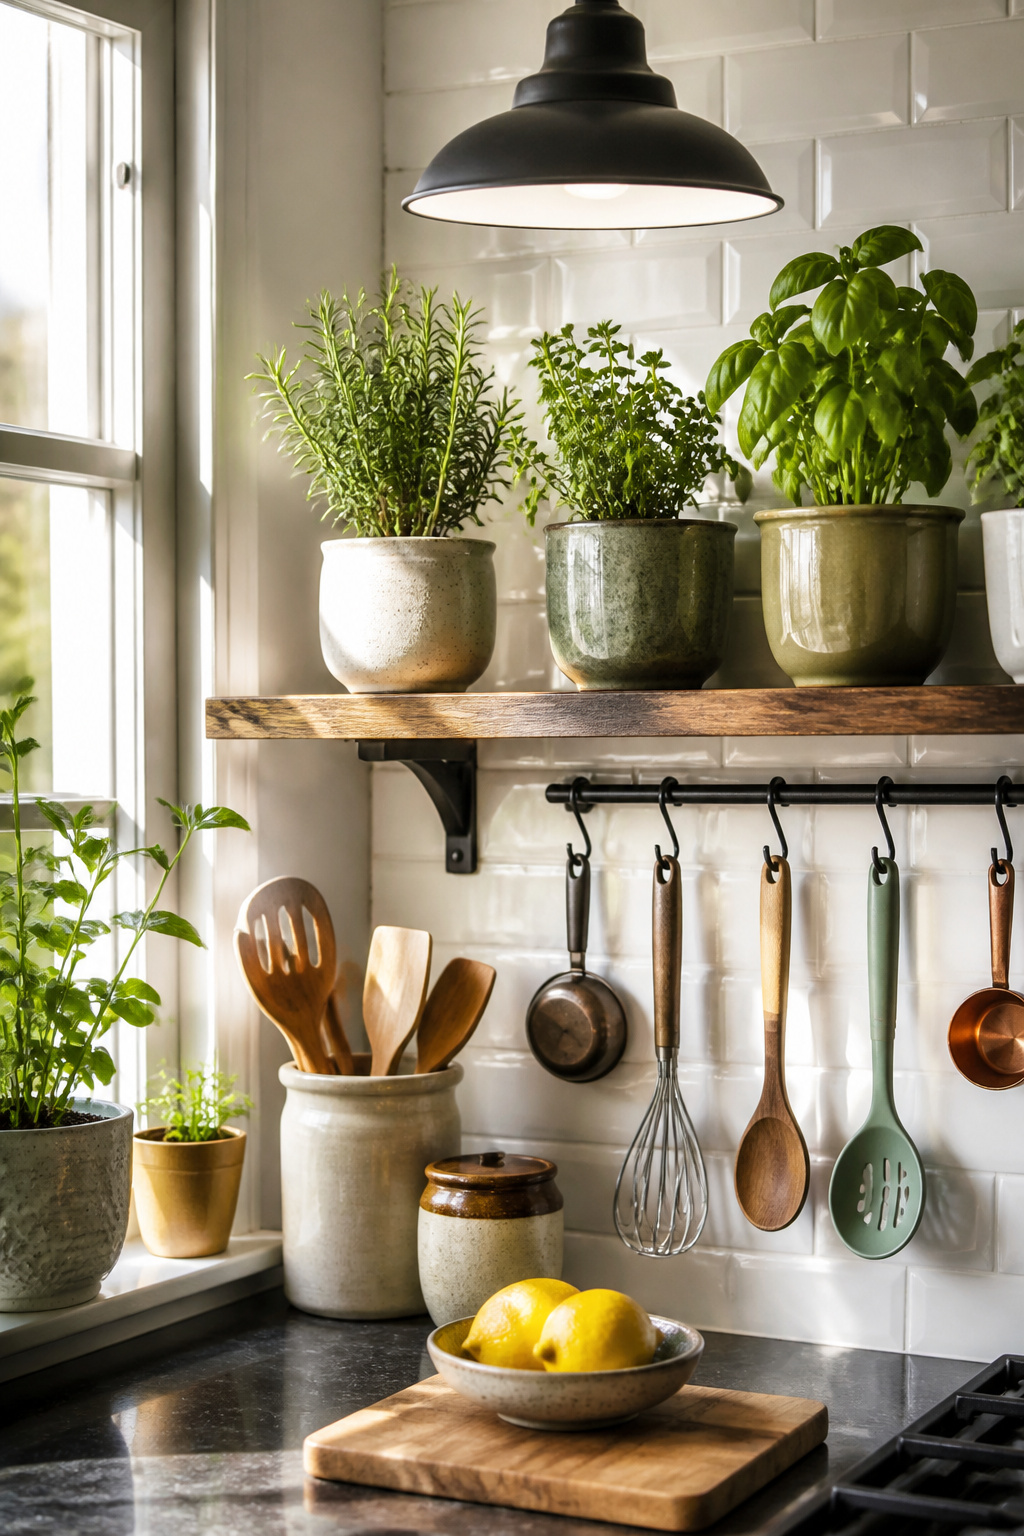
Growing herbs indoors extends the season past frost, but the shift to pots on a windowsill comes with two problems that outdoor beds rarely face. Light drops fast once you move past the glass, and most kitchens simply do not have enough of it. I keep a small basil plant going on my brightest east-facing ledge through January, yet by February it stretches pale and thin, reaching for something that is not there. LED or fluorescent grow lights solve this, and the setup demands more space than most people expect at first. A dedicated shelf with a fixture overhead, run on a timer for roughly the hours a sunlit garden would give, keeps rosemary and thyme compact enough to actually harvest from.
Drainage inside matters just as much. Saucers save countertops, but herbs left sitting in water root-rot fast. Pots need holes, and those holes need to empty somewhere the plant does not reabsorb from. I learned this the hard way with a ceramic planter that looked perfect and killed two plants before I admitted the design was wrong for the job. Indoor herbs live year-round, but only if the light and drainage are treated as non-negotiable, not afterthoughts.
10. Upcycled Container Garden
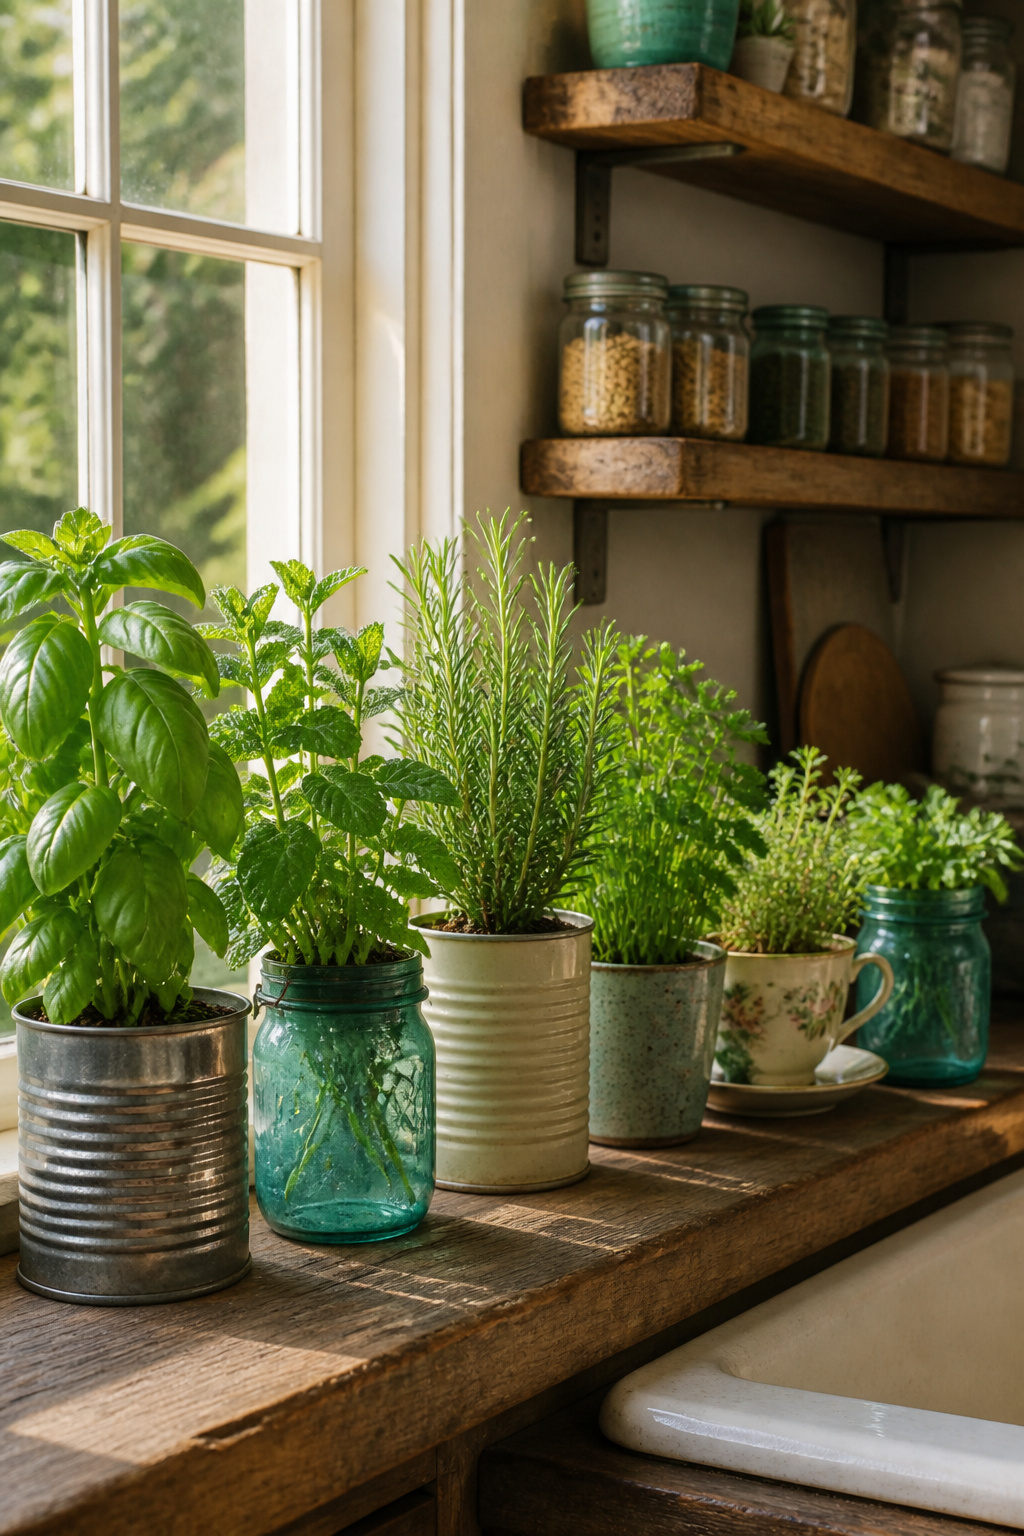
The cheapest herb garden I ever started came from what was already in the recycling bin. Mason jars lined up on a windowsill make an honest display, nothing more than potting mix and a few seedlings of basil, mint, or parsley dropped in. A length of garden twine turns them into hanging planters if counter space runs short. Tin cans work the same way once the labels come off and a coat of paint goes on. Kids can manage that part, and the herbs do not care whether the container cost anything at all. Teacups, old watering cans, even wooden crates—anything that holds soil and drains somehow—becomes its own kind of planter. The trick is not overthinking the match. Thyme in a chipped cup looks deliberate; rosemary in a rusted can looks rustic. What reads as mistake is the container that still holds water from last week’s rain. A few holes poked in the bottom, or a layer of gravel, keeps roots from rotting. The whole project runs on time and paint, not budget.
11. Herb Garden Grid Layout
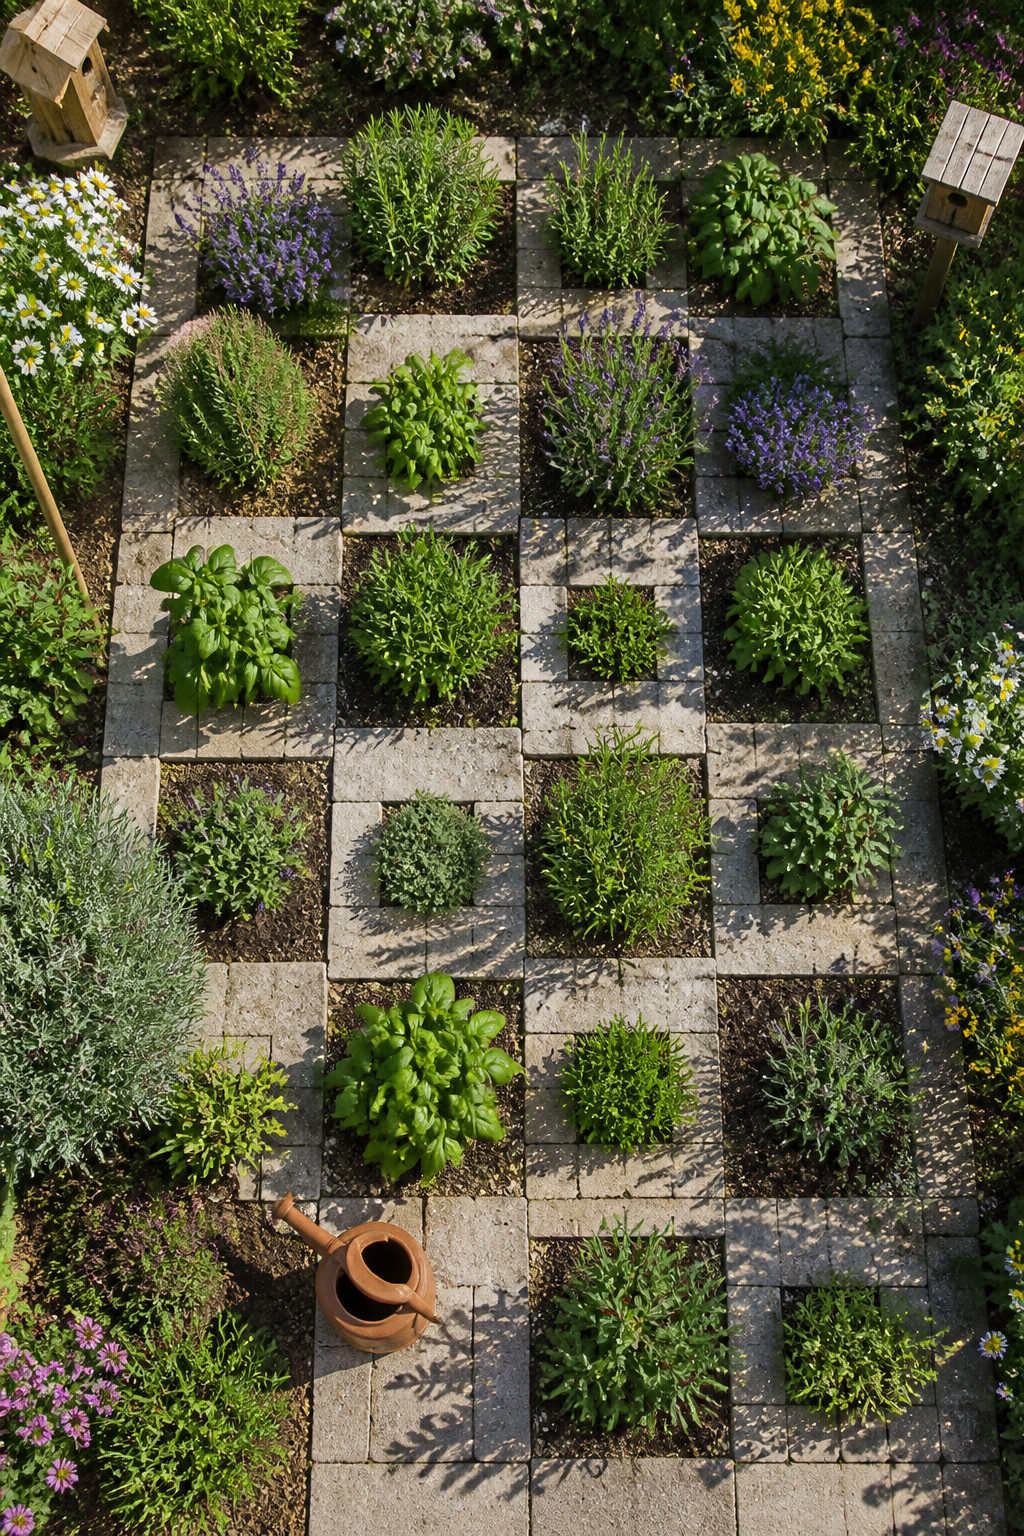
A geometric grid turns herb maintenance into something you can do in five minutes without stepping into the bed. Stone pavers laid in a checkerboard with planting squares between them give solid footing for watering, weeding, and harvesting; the pavers also limit how far spreading herbs can creep. A full build runs 18 feet by 4 feet, though shortening it to fit a patio or a narrow side yard takes no redesign.
Each square becomes its own zone. Mediterranean herbs like rosemary, thyme, and lavender handle the drier pockets against the pavers, while basil and leafy herbs want the richer soil in the open squares. Mint still needs containing, even here; bury a pot in its square or pick a corner you can watch.
The symmetry looks deliberate, but the practical payoff is what sold me reading through plans: you see every plant at a glance, you know exactly where your thymes end and your basils begin, and the bed stays tidy through winter frost if you mix annuals with perennials.
12. Edible Flower and Herb Combination
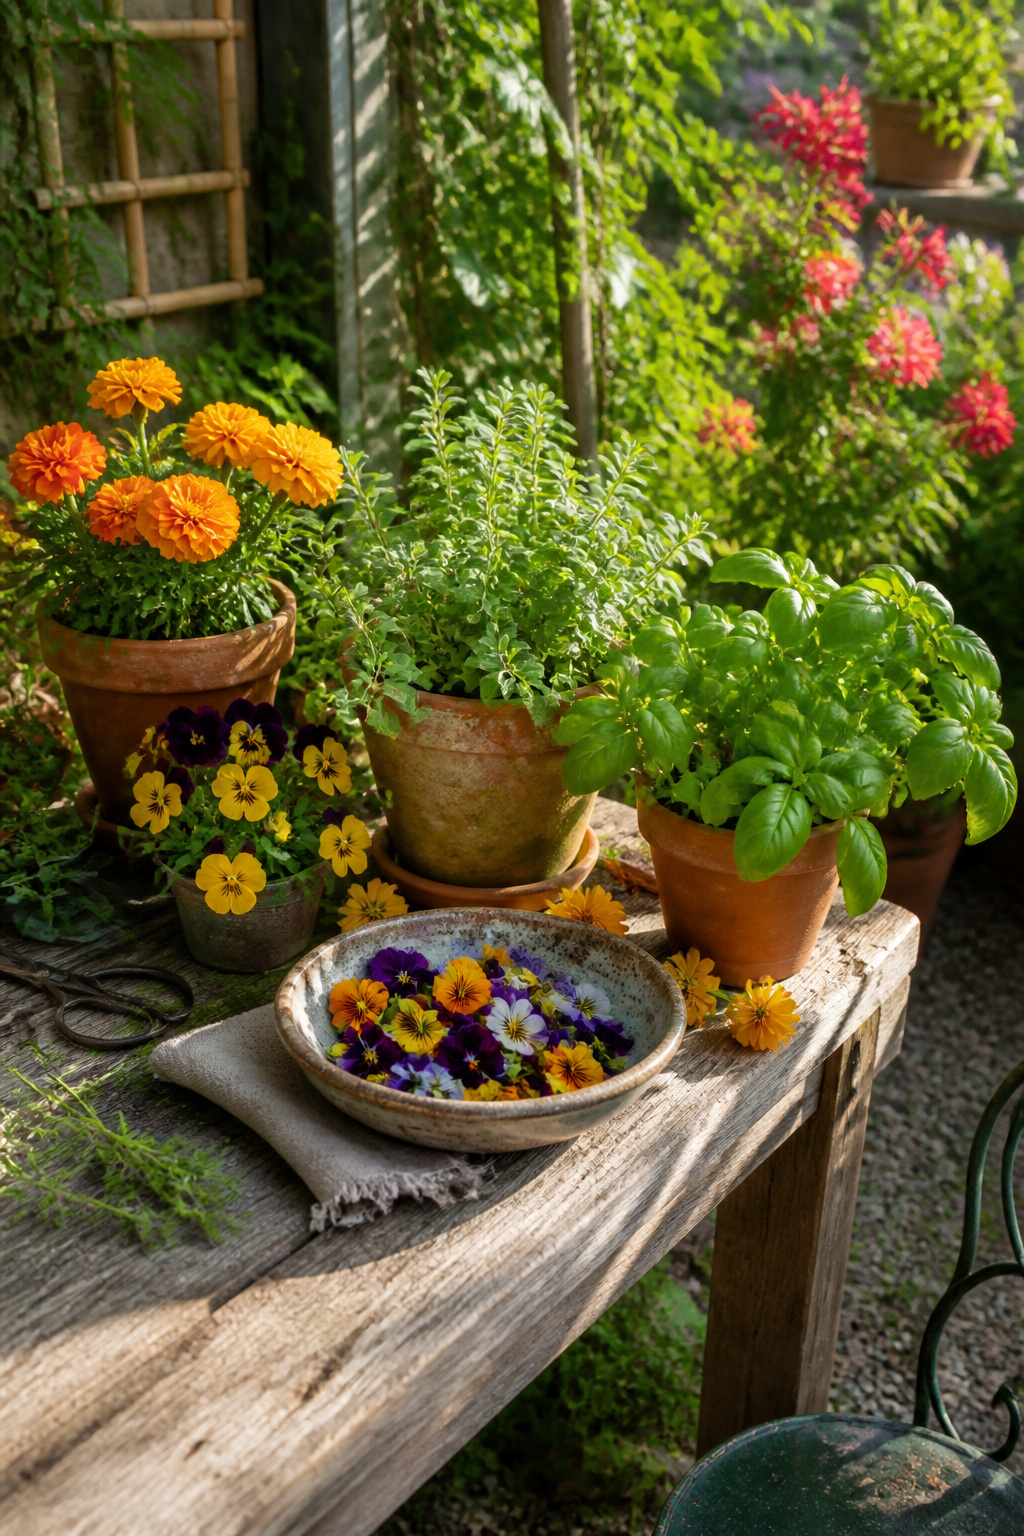
Edible flowers turn an herb container from strictly functional into something you actually want on the patio table. Pansies, marigolds, nasturtium, and calendula all read as ornamentals to most guests until you mention the petals are going into the salad.
The pairing that surprised me was letting oregano flower. Most guides tell you to pinch it back to keep the leaves pungent, and I do that for the main harvest. But the pink blooms have a milder, almost sweet version of the same flavor, and they hold up as a garnish in a way the tough leaves never would. Thyme plays the same trick, its tiny flowers almost invisible in a mixed planting until you look closely. Both herbs stay compact enough that the blossoms do not overwhelm a small container.
Nasturtium and calendula are the ones to grow if you want the flowers to carry visual weight, since their blooms are larger and more frequent than anything the herbs themselves produce. Calendula in particular keeps going in cooler weather when basil has already turned black. The limit is water: nasturtium likes it drier than basil, so I keep them in separate pots and cluster the containers rather than forcing a single shared soil mix to serve two masters.
Best Herbs for Beginners
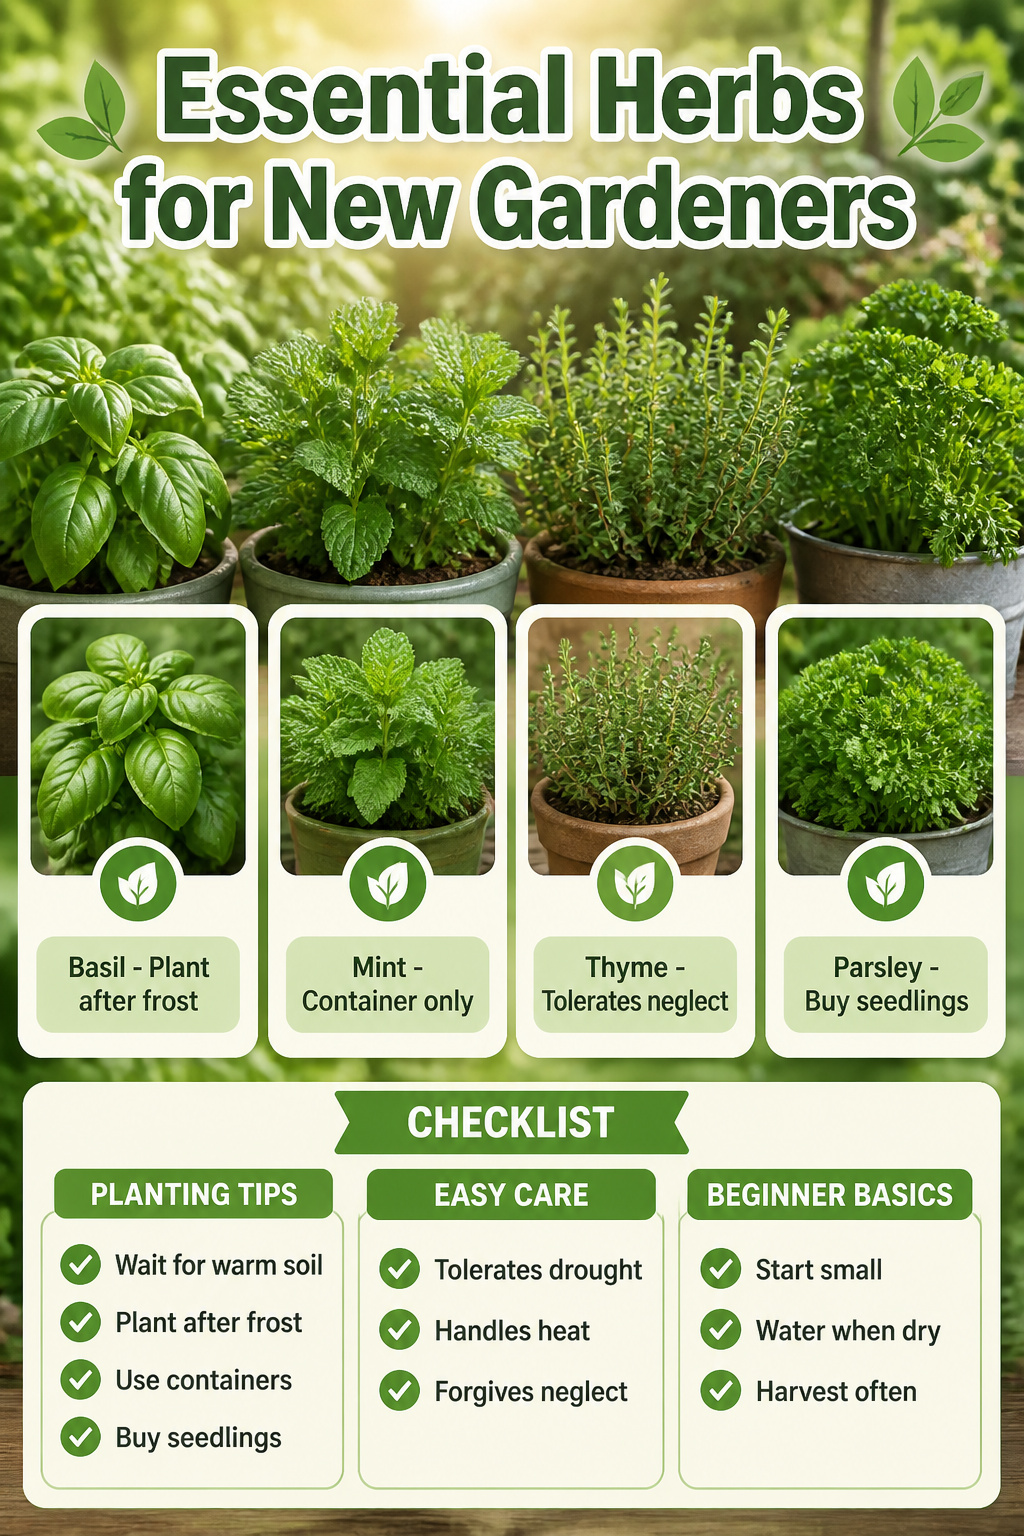
Some herbs practically raise themselves. These four have survived my early overwatering, a forgotten hard frost, and the summer I left town for ten days during a heat wave.
- Basil wants warm soil and will sulk if you rush it. I wait until the last frost is past, which in my zone means planting around Memorial Day. After that, it grows fast enough to harvest weekly.
- Mint is nearly impossible to kill, which is exactly the problem. Left in open ground it will overrun every neighbor. I learned to give it its own pot, no exceptions, and check the bottom for roots trying to escape through drainage holes.
- Thyme is the herb I ignore most successfully. It takes lean soil, afternoon heat, and a missed watering here and there without complaint. Woody stems mean it comes back in spring if your winters are mild.
- Parsley is technically a biennial, but it behaves like an annual for cooks since it bolts in year two. It germinates slowly and unevenly, so I buy seedlings now rather than waiting three weeks for patchy results.
What ties these together is tolerance for beginner mistakes. Basil forgives late planting; thyme forgives drought; mint forgives everything except boundaries.
Sunlight and Placement
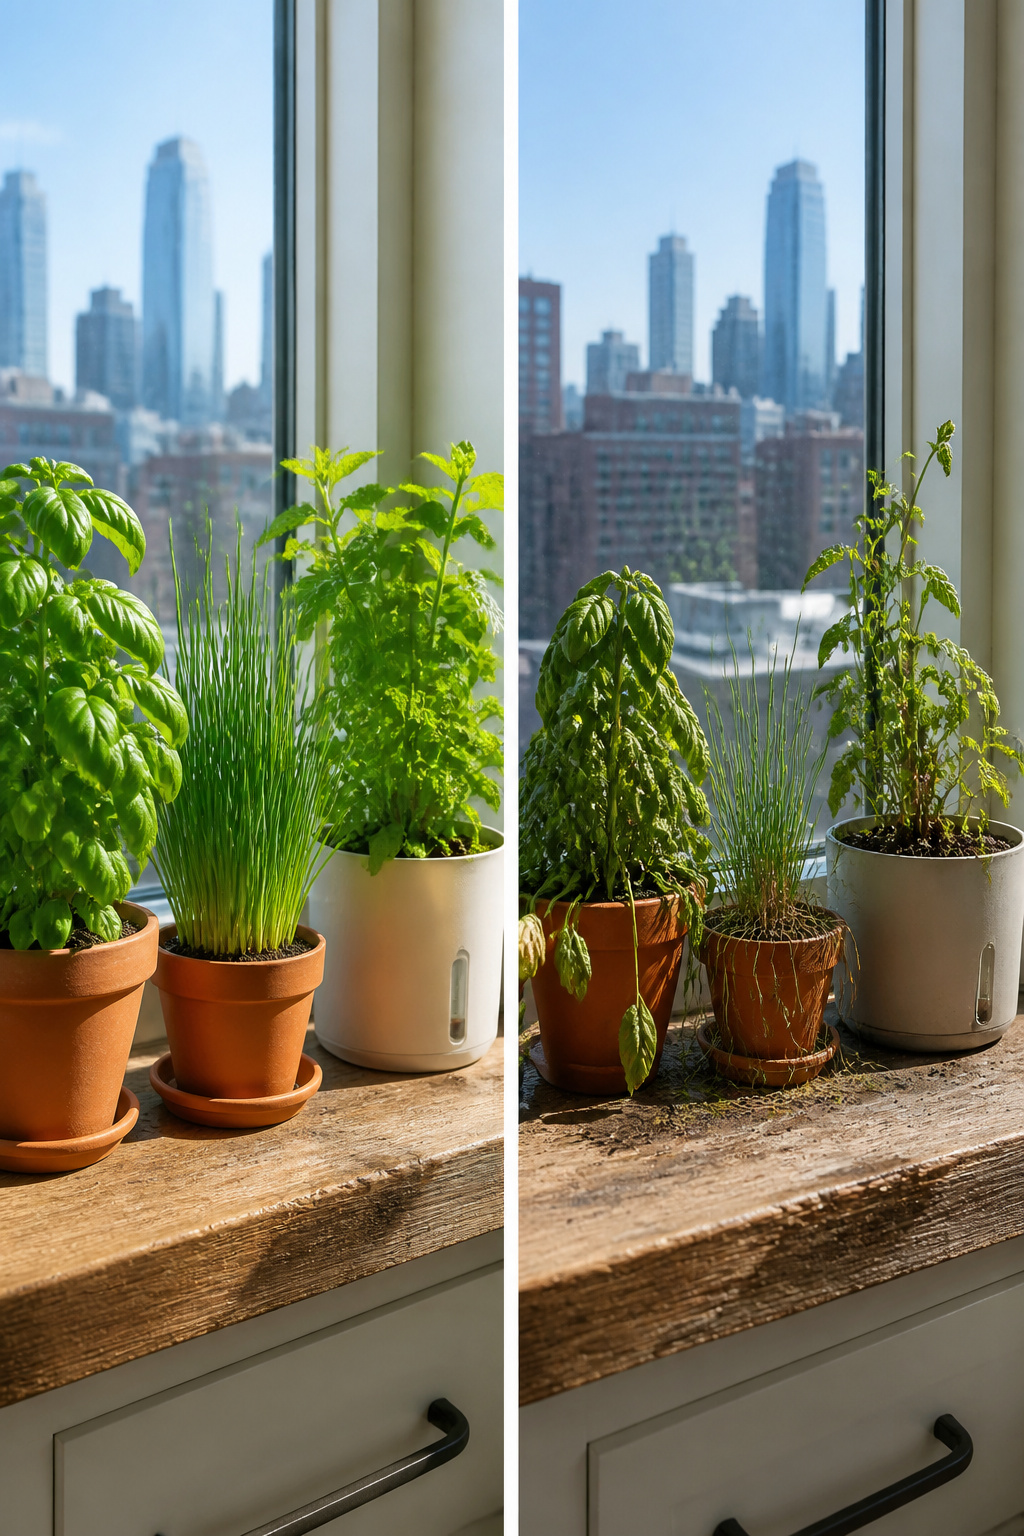
Most herbs want 6 to 8 hours of direct sun each day to grow thick and flavorful. Basil in particular rewards that full exposure with the aromatic leaves you actually want to cook with, though around Memorial Day is the safer planting window rather than rushing spring warmth.
Partial shade works for some. Parsley, chives, mint, and cilantro manage on 4 to 6 hours, which opens up east-facing walls or the half-day light of a balcony tucked between buildings. I have watched mint stretch toward any bright crack it can find while basil sulks in the same spot.
Location matters more than container style. A kitchen windowsill only succeeds if it hits that sun threshold; otherwise you are harvesting thin, pale stems and wondering what went wrong. Chives and mint tolerate lower light better than rosemary or thyme, so match the herb to the exposure you have rather than forcing the arrangement you pictured.
For self-watering planters or standing setups, the same rule holds. Six hours of sun is the floor for thriving, not just surviving. Less than that and even a reservoir will not rescue the harvest.
Soil and Watering
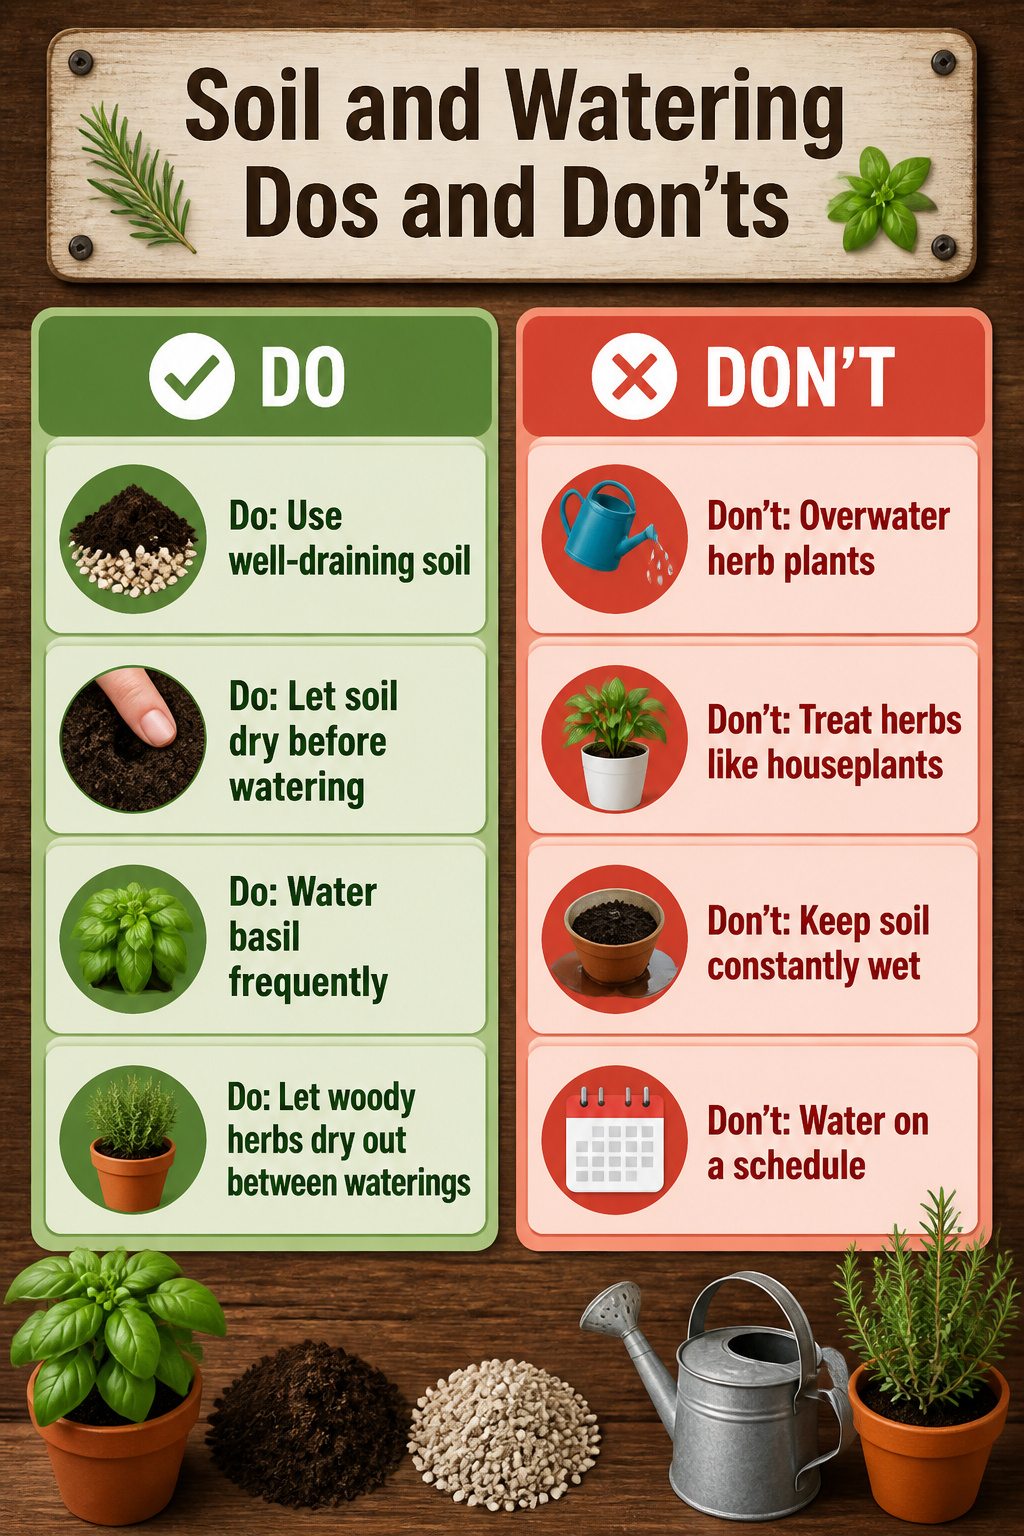
Well-draining soil makes or breaks an herb garden. Most culinary herbs want soil that doesn’t stay wet, heavy, or waterlogged. I start with a mix of compost and grit: the compost feeds the plants, and the grit (coarse sand or fine gravel) opens up the structure so water moves through instead of pooling around the roots. Mediterranean herbs like rosemary, thyme, and lavender need this leaner, drier mix most of all. Leafy herbs such as basil and parsley tolerate something richer that holds a bit more moisture, but even they will rot if the drainage is poor.
For watering, let the top inch of soil dry before you water again. Herbs want steady moisture, not wet feet. Basil needs more frequent watering than woody herbs. Rosemary and thyme especially prefer to dry out between drinks. The mistake I watch beginners make is treating herbs like houseplants on a schedule. Poke your finger in the dirt instead. If it still feels damp an inch down, wait. Soggy soil kills more herbs than drought ever will.
Harvesting for Bushier Growth

Regular harvesting does more than fill your kitchen; it reshapes the plant itself. Most herbs respond to cutting by pushing out new growth from the nodes just below the cut, which over a season turns a leggy seedling into a compact, productive bush. The technique matters. Snip just above where a pair of leaves meets the stem, and do it in the morning after the dew has dried, when the oils that carry flavor are at their peak.
Basil especially rewards aggressive pruning. Pinch out the center shoots before they flower, since flowering triggers a bitter shift in leaf flavor and slows vegetative growth. Sage follows the same pattern: a mid-season cutback, with those leaves dried for later use, promotes robust regrowth through late summer. Letting herbs flower early is the mistake that costs you the whole second half of the season. The cut stems are usable, so nothing goes to waste.
Herb Combinations That Grow Well Together

Some herbs share space better than others, and the difference usually comes down to water. Group thirsty herbs together and keep drought-tolerant ones apart, or somebody drowns or somebody dries out.
- Basil, tarragon, and oregano do not belong in the same pot. Basil and tarragon want steady moisture, while oregano likes the soil to get a bit dry between waterings. Plant oregano beside rosemary instead; both prefer drier soil and will not suffer from the same watering schedule.
- Lemon verbena, dill, and cilantro make a compatible trio. All three want regular water and cooler roots, so a shared container or a shaded bed edge works.
- Lavender, rosemary, and thyme all thrive on neglect. Give them sharp drainage and full sun, and water only when the top inch is dry. They will compete for the same scarce resources and thrive rather than starve.
- Parsley, sage, and chives split the difference. Parsley likes more moisture than sage, but chives tolerate both conditions well enough to bridge the gap. Plant parsley on the damp side of the bed and sage on the high ground, with chives in between.
Frequently Asked Questions
What herbs should I grow for beginners?
Start with basil, mint, thyme, and parsley. Basil grows fast once warm weather settles in, thyme handles lean soil and missed waterings without complaint, and mint survives nearly anything except open ground where it will overrun everything nearby. Parsley behaves like an annual for cooks and germinates unevenly from seed, so seedlings are the easier path.
How much sunlight do herbs need?
Most herbs want 6 to 8 hours of direct sun each day to grow thick and flavorful. Parsley, chives, mint, and cilantro manage on 4 to 6 hours of partial sun, which opens up east-facing walls or half-day balcony light. A kitchen windowsill only works if it hits that threshold; otherwise you will harvest thin, pale stems.
Can I grow herbs indoors?
Yes, but you will likely need LED or fluorescent grow lights on a timer, plus pots with actual drainage holes. A dedicated shelf with a fixture overhead, run for roughly the hours a sunlit garden would give, keeps rosemary and thyme compact enough to harvest from. Saucers save countertops, but herbs left sitting in water root-rot fast.
What is the best way to water herbs?
Let the top inch of soil dry before watering again. Basil needs more frequent watering than woody herbs, while rosemary and thyme especially prefer to dry out between drinks. Poke your finger in the dirt instead of keeping a schedule; if it still feels damp an inch down, wait. Soggy soil kills more herbs than drought ever will.
How do I prevent my herbs from wilting?
Ensure proper drainage and avoid overwatering. Waterlogged roots rot fast, whether in a sealed pot or heavy garden soil. Use a mix heavy on compost and grit so water moves through instead of pooling, and check that drainage holes actually empty somewhere the plant cannot reabsorb from.